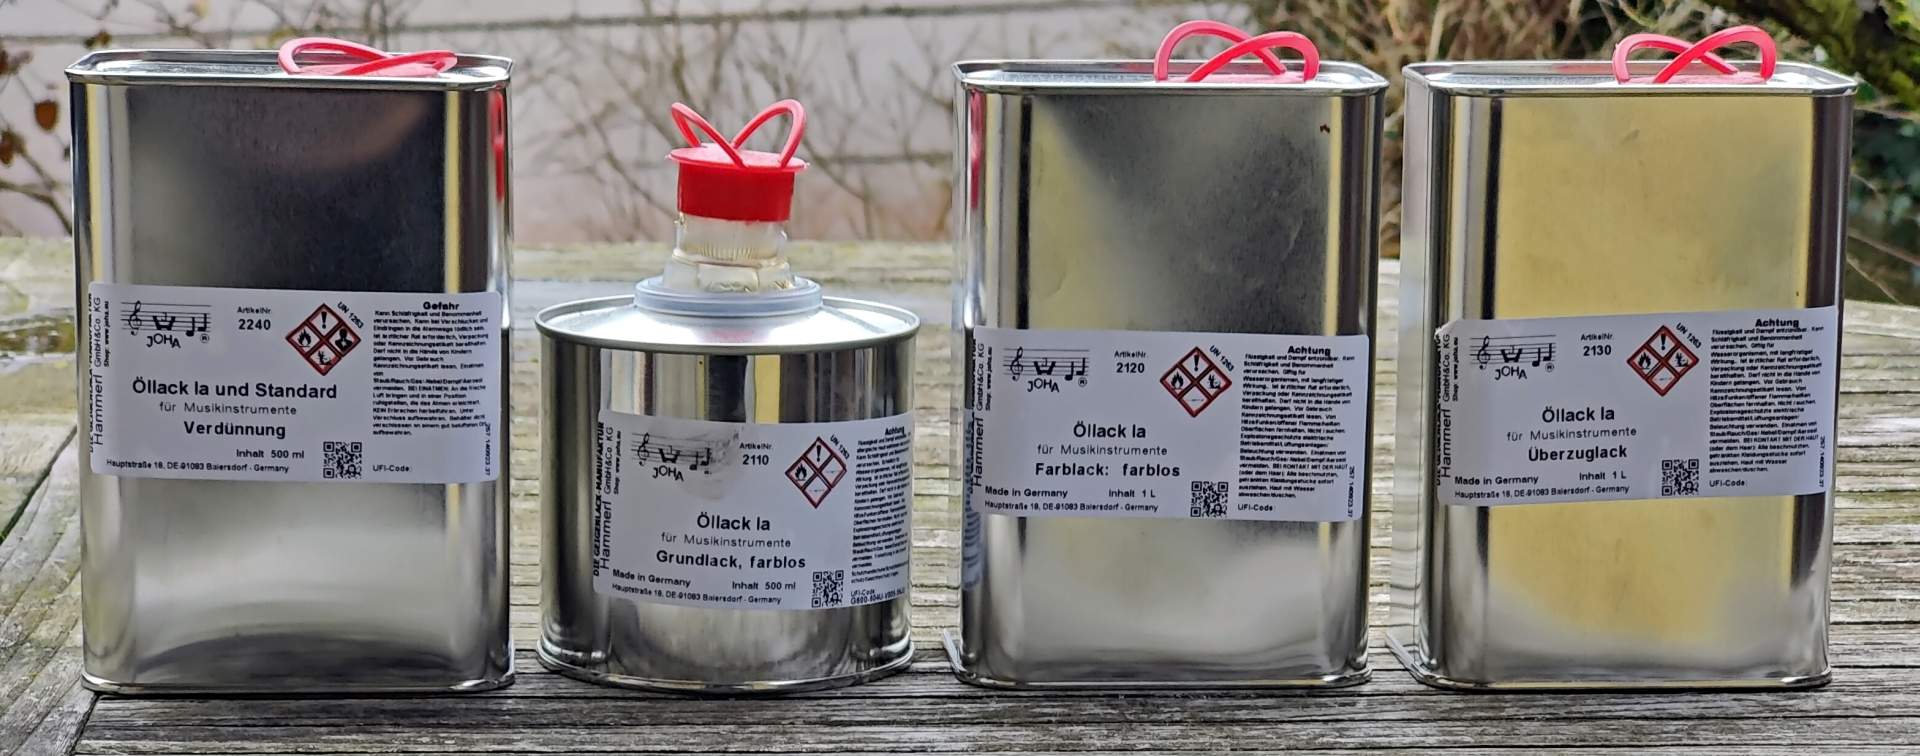
Already during the manufacturing phase of my first WN300ALO horn prototypes I started to think about what varnish the wooden surface could be treated with. Coincidentally, I had watched a TV documentary a while ago about the importance of violin varnishes for the sound of string instruments. Based on this documentation and after doing some research on the web, the decision was made to use a procedure with a set of violin varnishes using a traditional recipe containing a mixture of natural and synthetic resins dissolved in turpentine and linseed oil. The Joha® company claims good vibration properties for their oil varnishes, a hard-wearing surface, and a quite short drying time. My decision was to go for the oil varnish 1a product series for my WN300ALO horns. The company also offers many painting accessories to optimize the final appearance of their varnishes – company homepage:
It is well known that these varnishes generally dry slower than conventional synthetic products. Even more time-consuming is that the whole procedure needs several different working steps, each with its own dry time. The first step was a proof of concept, so I first ordered a small set of test units to test the procedure and to choose a color.

PoC with Joha® test set
For the sake of safety, it is always a good idea to test such a procedure using some residual wood pieces from the cutting process. Just after a few test runs, it was clear to me that I constantly applied too much varnish using a brush. Much better results were obtained by using a piece of cotton cloth cut out of a quality T-shirt and folding it into a rectangular shape. The amount of needed varnish got applied with a brush to the cotton cloth first and then wiped evenly over the wood surface.

Test piece with color varnish applied.
Another important thing to learn was that in regions where the internal glue joints do not fit perfectly, significantly more varnish is absorbed. The same thing can also happen on the edges or inside the horn profile. This effect was mitigated by applying the primer varnish first. Maybe for a very high-material-quality wood horn, the primer step could be left out, giving a more intensive optical exaggeration of the wood structure. The effect of this first primer step is that the pores of the wood are closed to some degree, preventing the color varnish from reaching the deeper wood layers or getting concentrated in certain regions. Overall, this gives a more even and subtle appearance.
For the prototypes, I applied only one layer of primer and let it dry for about one day. The next step was to apply two layers of the color varnish and let it dry for some days.

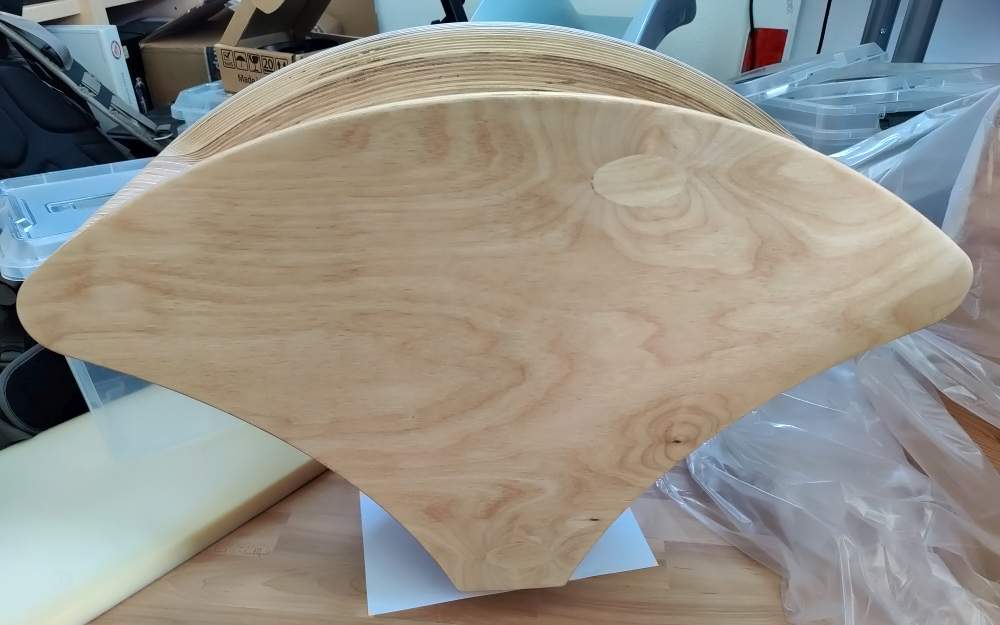
WN300ALO multiplex raw condition

WN300ALO multiplex raw condition

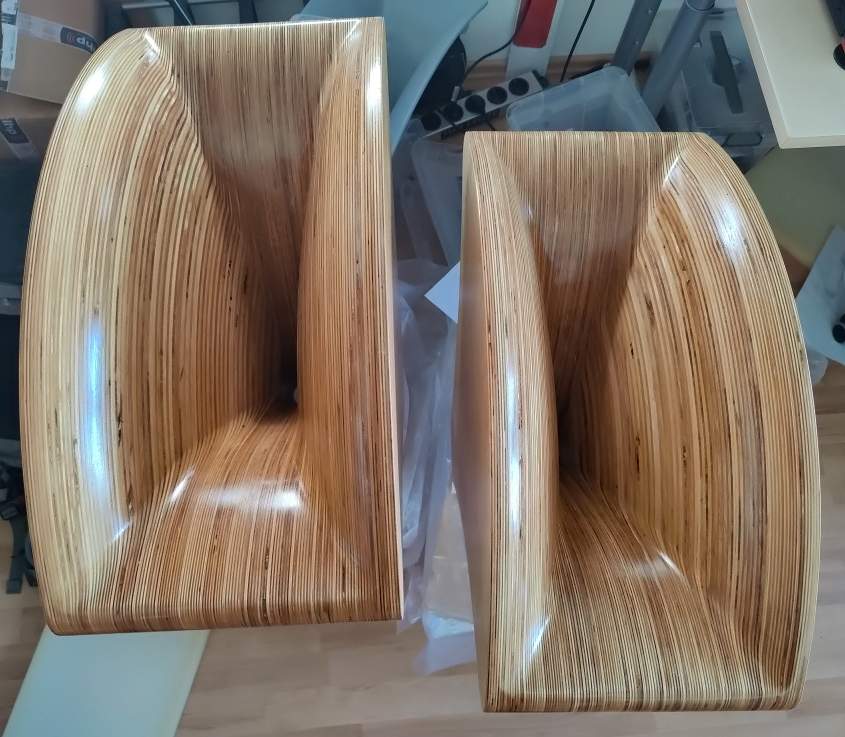
WN300ALO + 1 x Joha® primer + 2 x Joha® color varnish
WN300ALO + 1 x Joha® primer + 2 x Joha® color varnish
Before applying the final coating varnish, I decided to first sand the surface with quite fine-grained sand paper to get a better adhesion for the coating varnish.

WN300ALO + 1 x Joha® primer + 2 x Joha® color varnish – fine sanded
After sanding the color varnish, it can be seen that the varnish has penetrated relatively deeply into the wood structure. But by looking at the optical result, some doubts came up about whether I had sanded away too much varnish, but no worries as the effect of the coating varnish surpassed my expectations as it lets the surface shine and produces a kind of 3D view effect.

WN300ALO + Joha® coating varnish
WN300ALO + Joha® coating varnish

WN300ALO + Joha® coating varnish

WN300ALO + Joha® coating varnish
After two layers of the coating varnish had been applied, I decided to apply a third layer because the coating is also responsible for good surface protection. So the whole workflow in varnish layers is 1-2-3 (1 x primer, 2 x color varnish, 3 x coating).
Joha® 1-2-3 workflow
It sounds a little bit strange because the product name of the color varnish is a little bit misleading because my preferred color varnish contains no additional color particles (colorless). My decision was against using additional color ingredients for the main varnish. First, the colorless varnish already has some kind of color. Second, every test with color particles like amber, brown or black added to the main varnish produced a less pleasant optical appearance to me.
If we study the properties of traditional oil varnishes, the common drying time is more in the range of months, but the Joha® varnishes have a component added called Siccative which is responsible for accelerating the drying process to about one week. Anyway, the current temperatures are really high, and I waited about three weeks. After this wait time, the overall look was a little bit too glossy for my taste and the surface was not perfectly smooth, so I contacted Joha® to get some tips. I got the recommendation to apply two additional final steps and ordered extra fine pumice stone powder and a liquid polish.

In order to be able to use the pumice stone, it must be mixed with a little bit of water. To be honest, I was not really motivated and thought that hours of work would be necessary to get acceptable results, but the fine grinding compound worked extremely well and much faster than expected. It transforms the surface into a very smooth one when touching it with the fingers or the hand and wiping over it. The overall look turned to a rather satiny matte appearance. Please bear in mind that photos never capture the real appearance of wood and its natural reflections, but I really like the final results. The last step is to polish the surface with a product that seems to be a water/oil-based liquid named “Glanz und Pflegepolish” which needs considerable shaking of the bottle before it can be used. But the effect is again like a miracle because it turns the surface into a very decent satin-glossy look. Simply Awesome!

WN300ALO final treatment

WN300ALO final treatment

WN300ALO final treatment
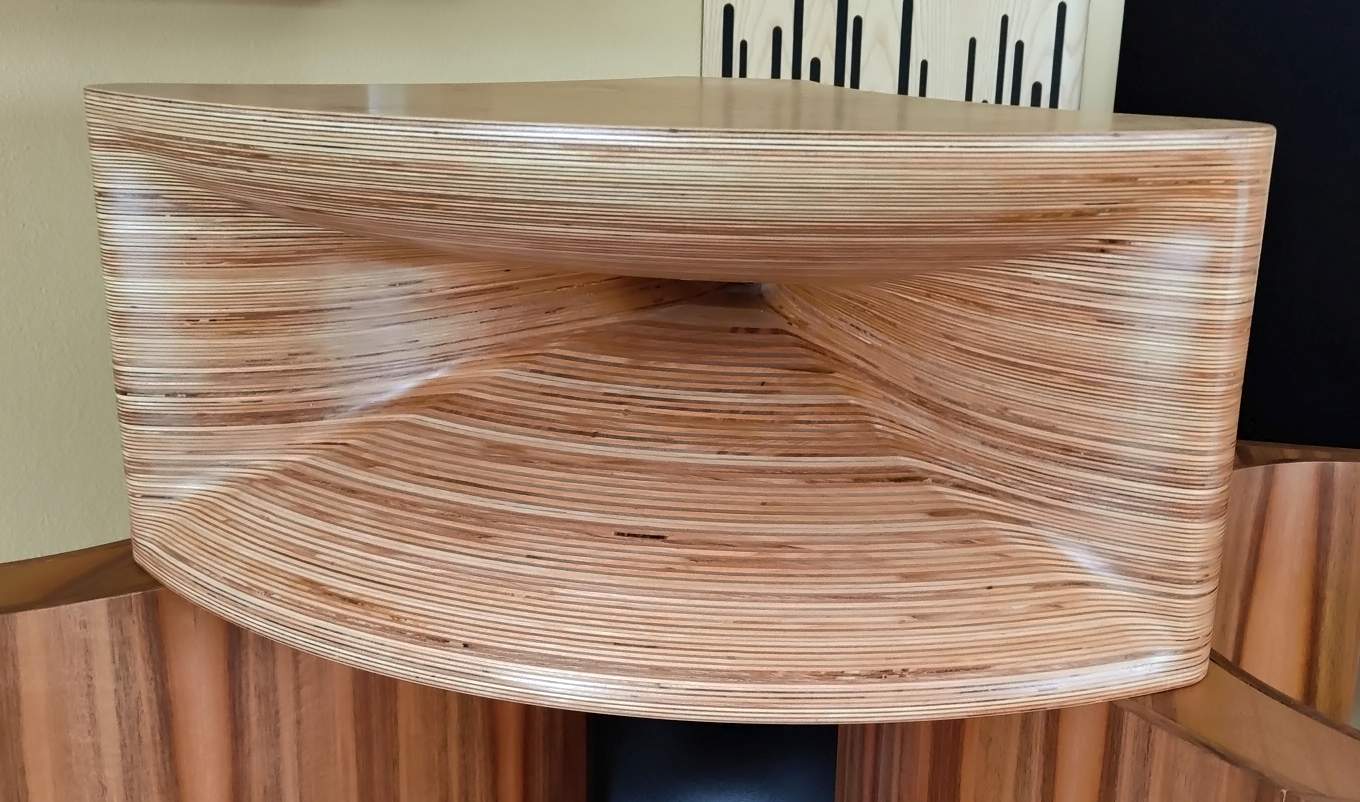
WN300ALO final treatment
To be honest, the whole workflow is quite complex and time-consuming, but the result is really nice, and to have the horns refined with a traditional violin varnish creates the feeling that a better refinement could hardly have been made in terms of sound quality. Please take this last statement with a bit of irony.